Stand Out With These tips
Today’s business markets almost demands that you have a headshot for your Linkedin and other social media pages. Often this success depends as much on the subject as it does the photographer’s techniques and workflow. Here are some of the things you can do as a subject to stand out from the crowd and make your headshots shine.
Clothing Selection
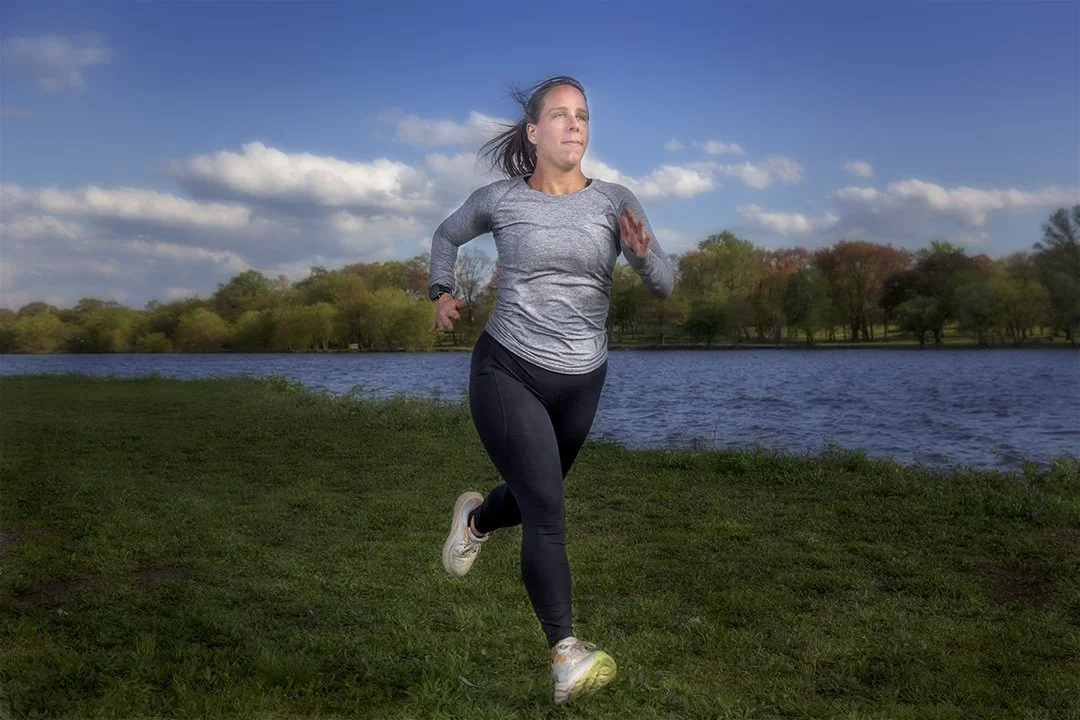
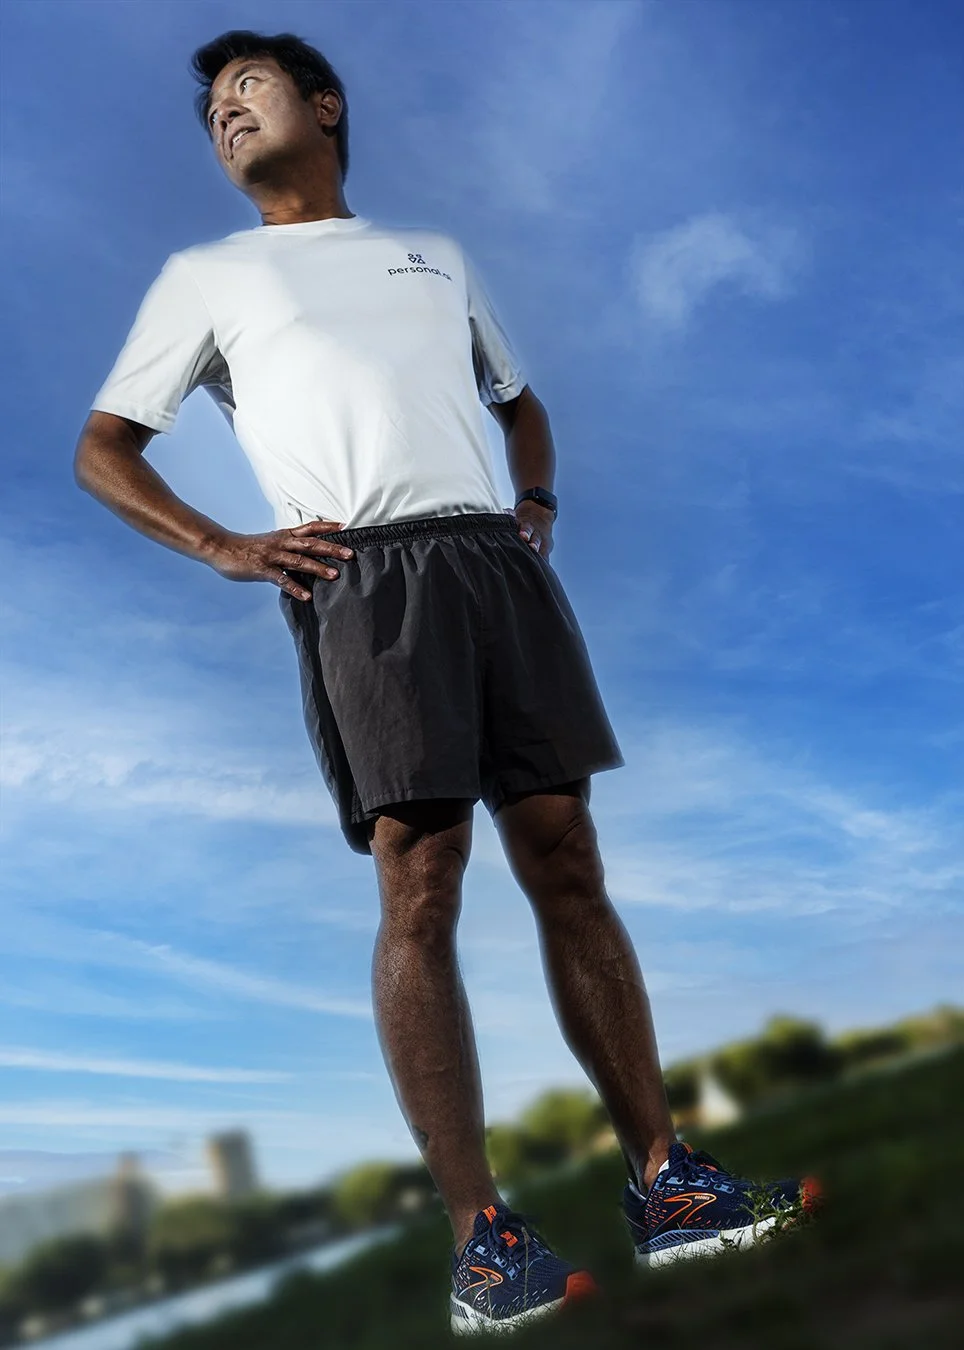
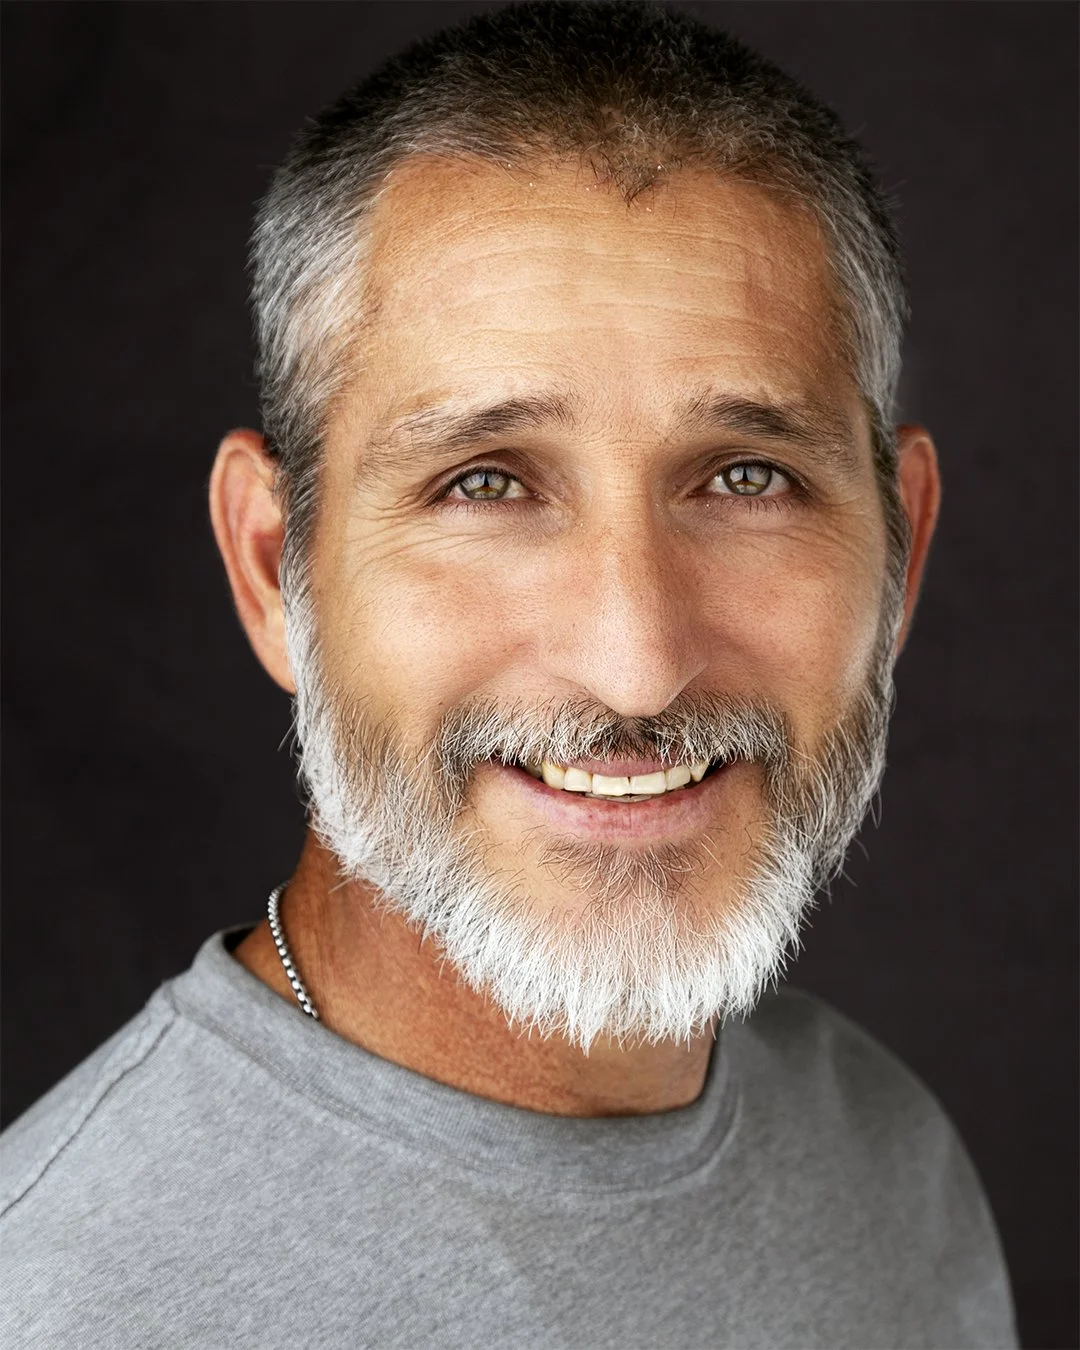
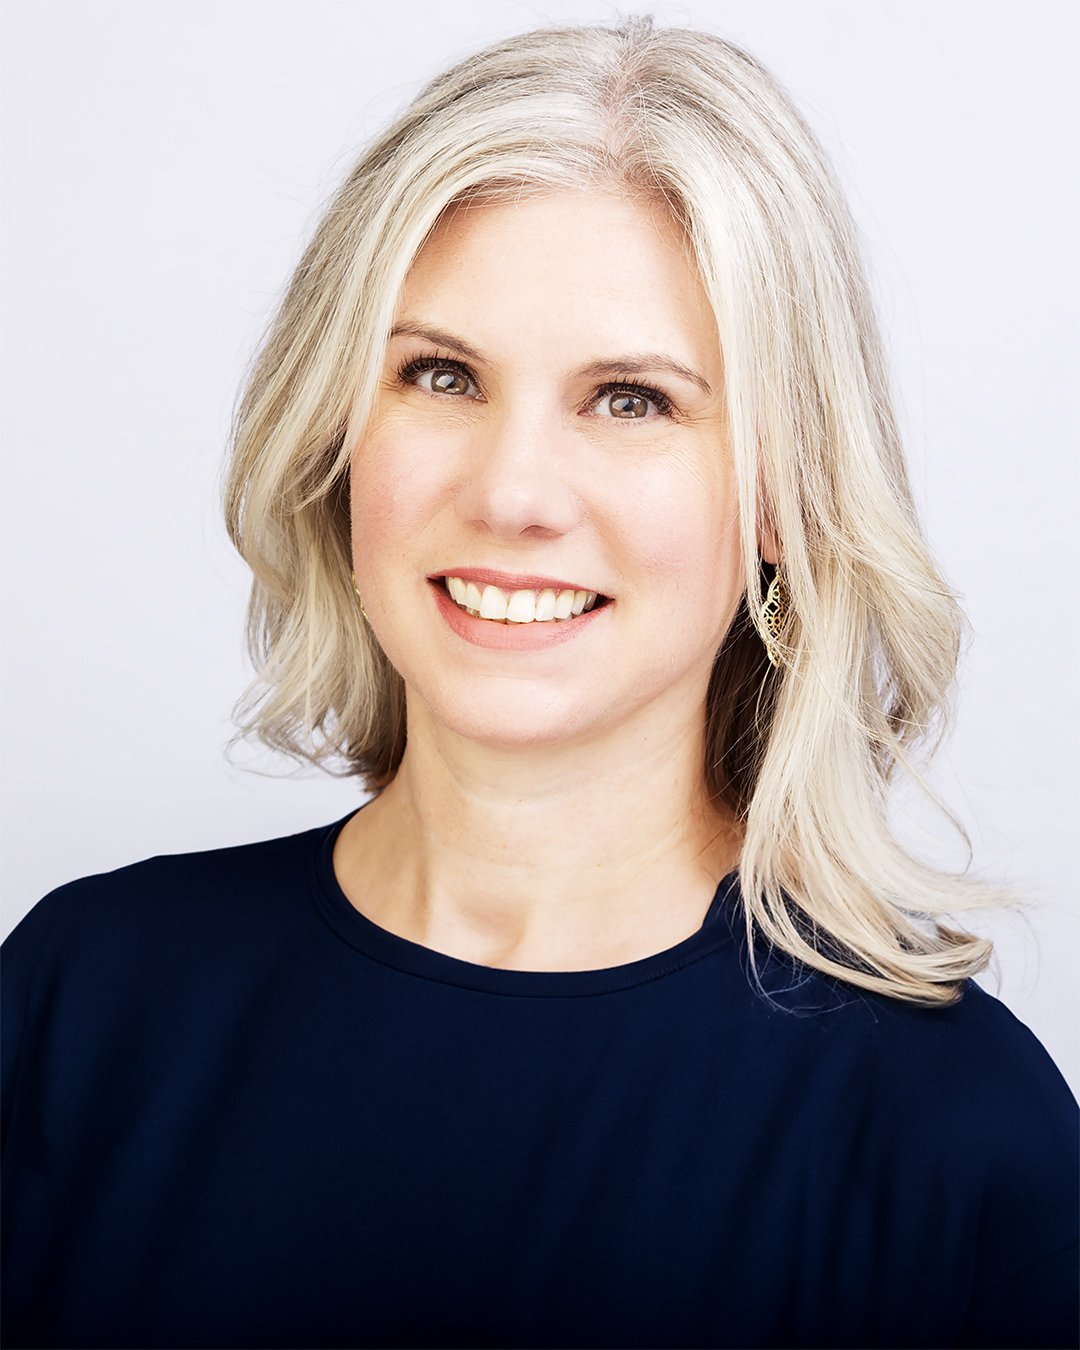
The best clothing to wear is clothing you are comfortable in. Avoid bright colors and patterns that will distract the viewer from your face. Dark and muted is generally the best, but formality can be projected with the sitter in a business suit and white shirt. The best idea is to bring several different items that you and the photographer can decide on together.
Background
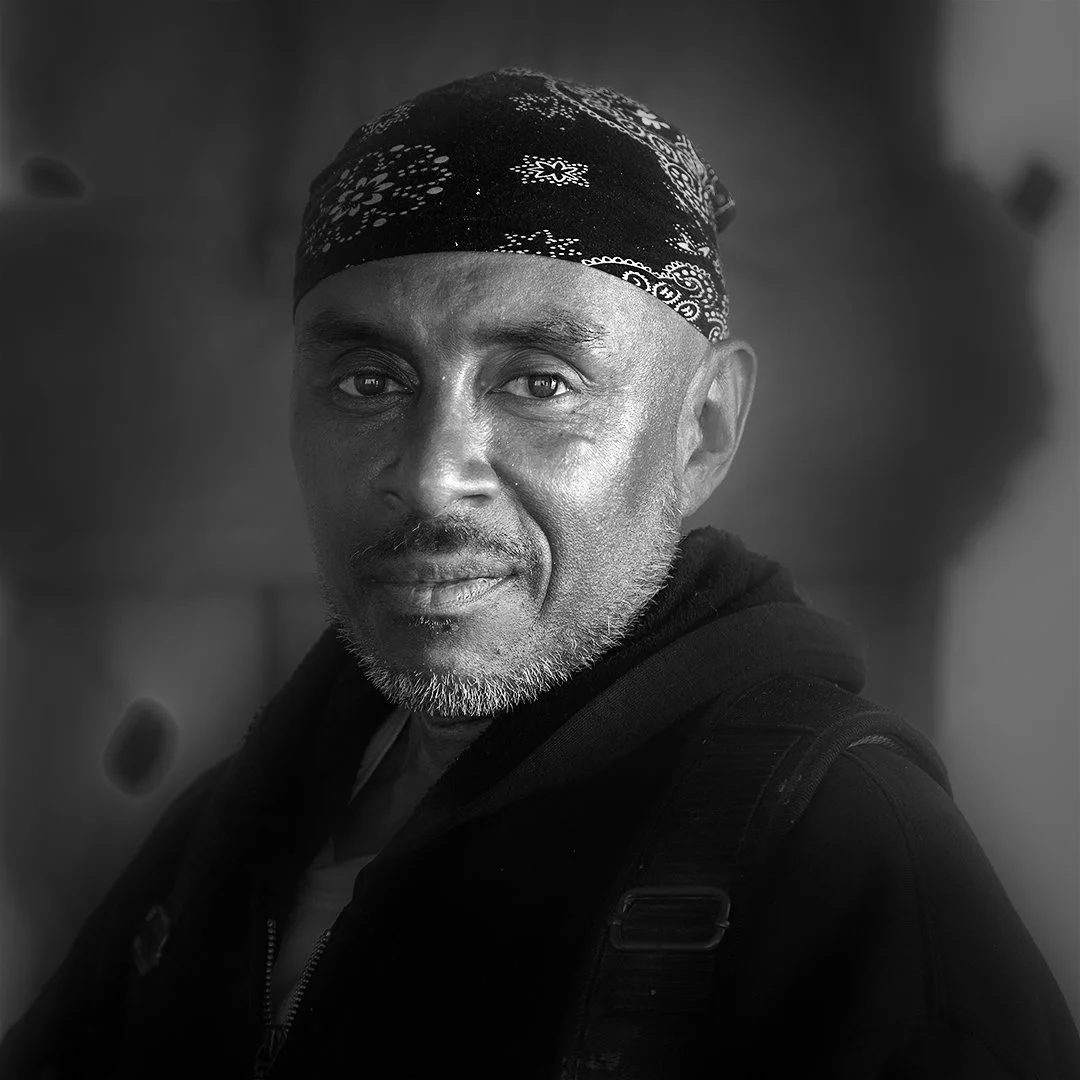
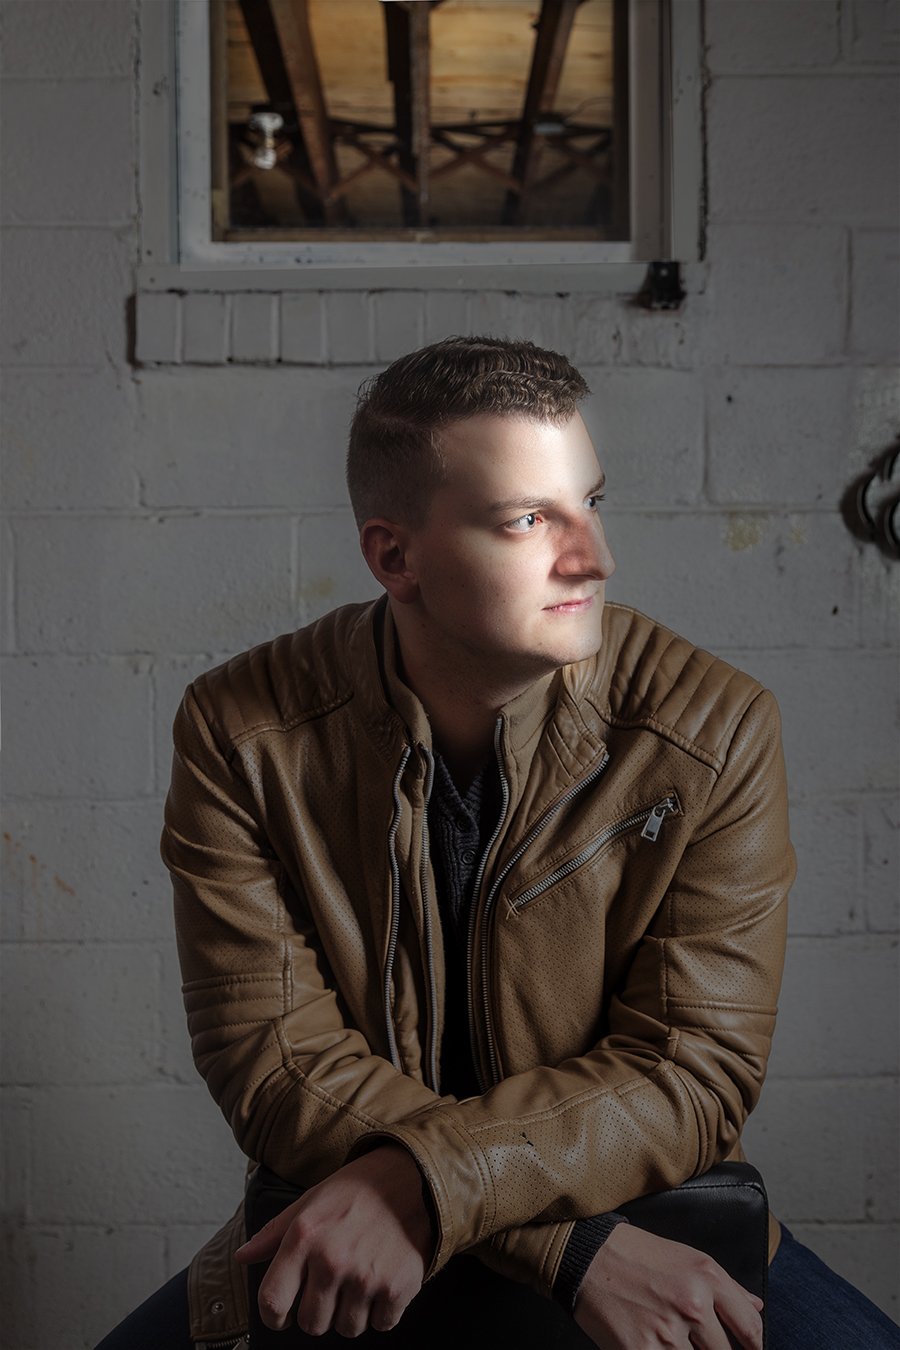
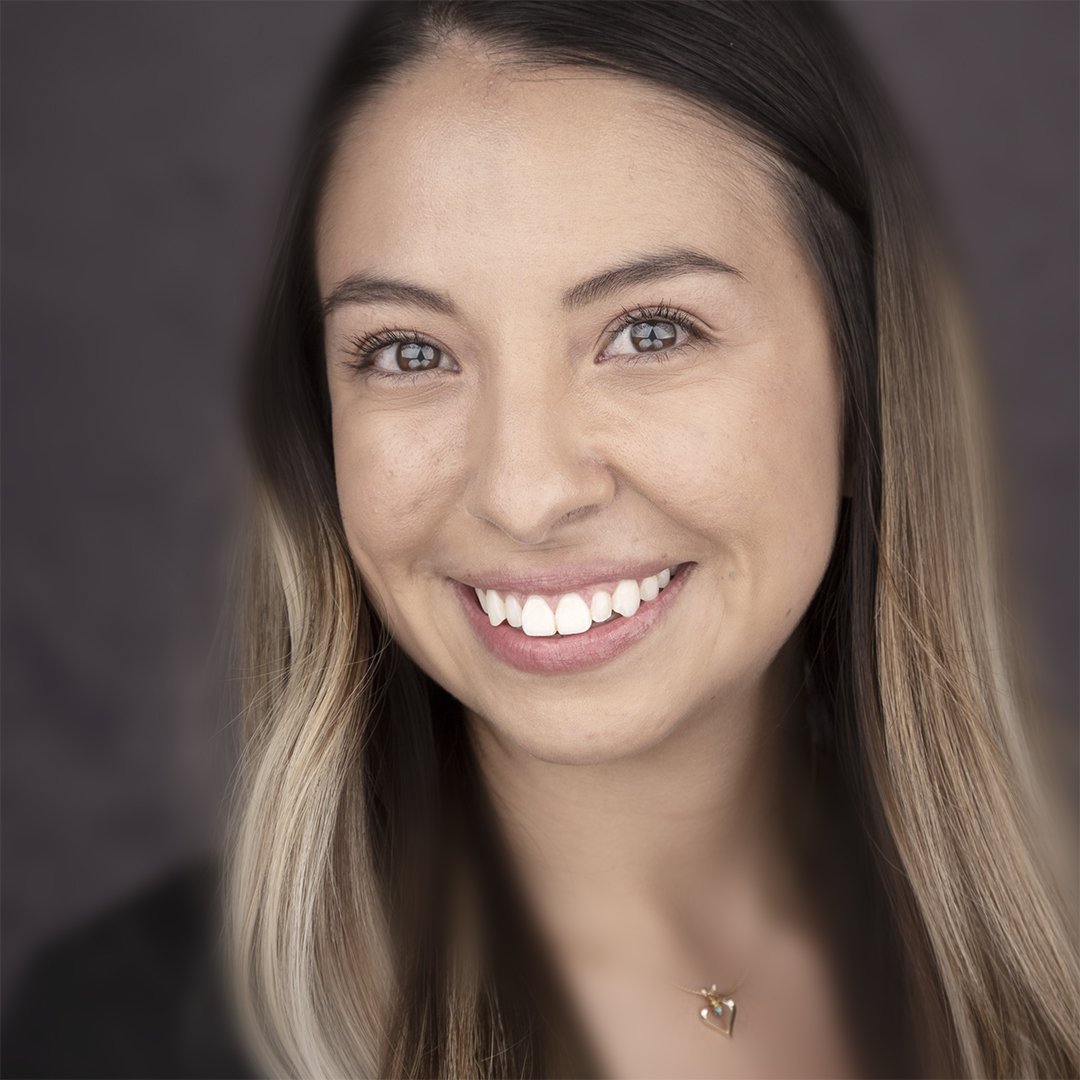
It is important for the background not to be seen. By that I mean that it has to be unobtrusive and not compete with the face or clothing of the subject. Often a professional headshot will be photographed against a dark grey, medium grey or white background. This helps the sitter to stand out and become the focus of the the photograph. Color backgrounds have been used, but the photographer needs be careful not to make the final product look like your third grade grammar school photo.
Lighting
One of the most powerful tools in the photographer arsenal is his command of lighting techniques. This is no one lighting setup that will make everyone look good. Stronger lighting ratios (large bright to dark differences) can be used to project strength. Sometimes they can look intimidating and less approachable. Lighting that is too soft may look lackluster and unintresting. For those of us that have a “best” side, overly soft lighting may not be for you. Once a I get you under the lights, my decisions on lighting and posing will get you the great results you need.
Conveying Your Personality
Photographing people is a collaboration between you and the photographer. I watch your body language before and during the shoot to find your comfort zone. I try to create natural and relax expressions with proper posture and most importantly, eye contact with the camera. Eye contact will make you look friendly, confident and connected, without eye contact you look aloof and disinterested in your audience.
Hair and Makeup
Neatness counts! Men should have their hair, eyebrows and beards neatly trimmed. Stray facial hairs do show, especially with today’s high resolution cameras. The best advice is to not get a haircut the day of the shoot (5-7days before is perfect), but shave as close to the session as possible.
Women should have their hair styled as close to the appointment as possible. I would also recommend some makeup. A full-coverage foundation will smooth out the skin and hide most imperfections. I do retouching, but only the zits and little blemishes, I never alter any permanent physical detail of the face.
Plenty of rest the night before can make a world of difference on how you project to the camera. An unrested face might show stress, tiredness and a lack of expression no matter how hard the sitter tries.
Enjoy the Experience
Relax and have fun during the photoshoot. When you come in ready to go with a positive attitude the photographer will respond in kind by getting expressions that are natural and genuine. After all, photographers love having people in front of their cameras. Just enjoy the experience and trust the photographer.
Choosing the Right Photographer
There are so many of us so it is important to find a photographer with experience in headshots and portraiture. Look at their websites, drop them an email, give them a call and find out how they can help you. Once you decide you now have some guidelines that will help you bring success to your headshot session.
At John Craig Photography, I specialize in headshots and portraits and have been at it for almost 50 years. I love having people in my studio and I hope you can come over and pay us a visit soon. I am located at 112 North Broadway, Gloucester City, New Jersey 08030
www.JohnCraigPhotography.com
856.271.8093